If you’ve been thinking about making bacon but wondered how, you’ve come to the right place. I’m going to show you how it’s done and I promise you IT’S NOT HARD.
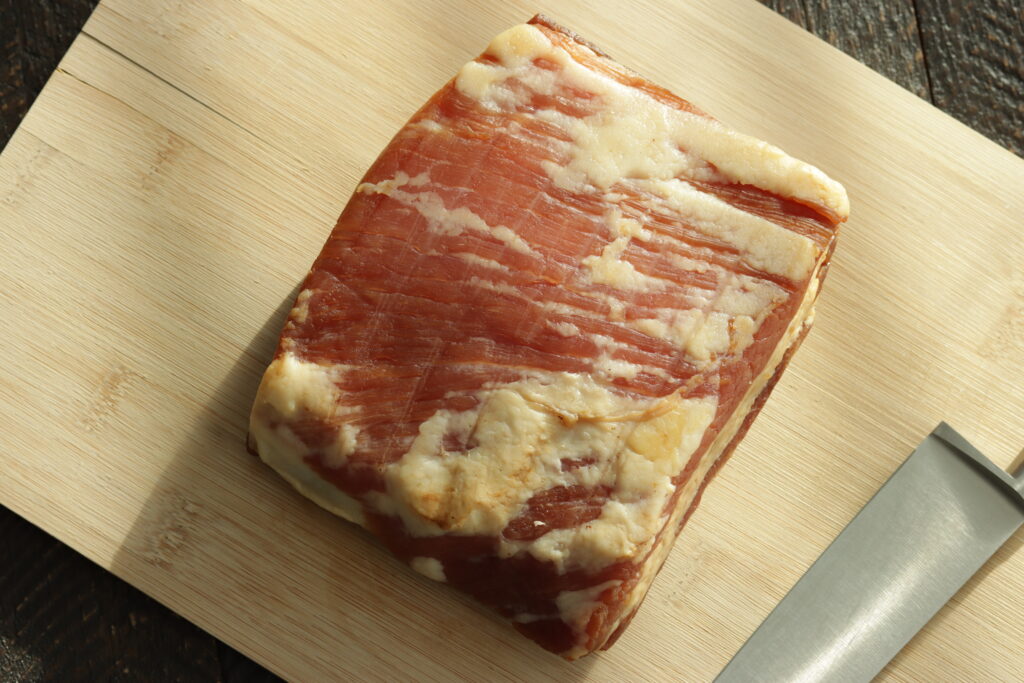
The most important thing is a pork belly. Where you get it is up to you. Whether it be from a butcher, local farmer or the nearest Costco. It’s like most meat related things, the better the quality, the better the results. You will want a piece of meat that is somewhat square or rectangular. It’ll make sense when you get to the slicing part.
Once you have acquired this delightful piece of pork you may want to trim it, because it is often sold with the skin on. You can leave on as much or as little fat as you prefer. Ideally you’ll want it from 1-2 inches at its thickest point, and 6-8 inches long, so it fits in your frying pan.

The next thing you will need is curing salt. Also know as Insta Cure or Prague Powder #1. So what is this weird pink looking salt? It is salt, BUT it has sodium nitrate in it. If you don’t have any, PLEASE do not try this without! The curing salt does two things.
- It gives it that nice pink look, instead of it looking like an old grey pork chop.
- Most importantly it helps keep botulism from growing in your bacon. Which keeps you from getting sick. Must I go on?
- It helps to cure and preserve the meat which means it will last long
We will be using a dry rub method that is simple and dare I say, nearly fool proof. Say hello to the equalization method (EQ method). We use a basic percentage scale so it’s adaptable no matter what size you’re using.
First, weigh your pork belly on a scale in grams. Now let’s pretend that it weighs 1000 grams. From here on we will work with percentages as we figure out our rub ingredients. Here’s the EQ formula.
2% Kosher Salt .
1.5% Brown Sugar
0.25% Curing Salt #1
So if our belly is 1000g we will use 20g kosher salt, 15g brown sugar, and 2.5g curing salt. The great thing is that if you want to add other things to it (pepper, honey, chili flakes, etc.) you can, but this is the base we build off of.
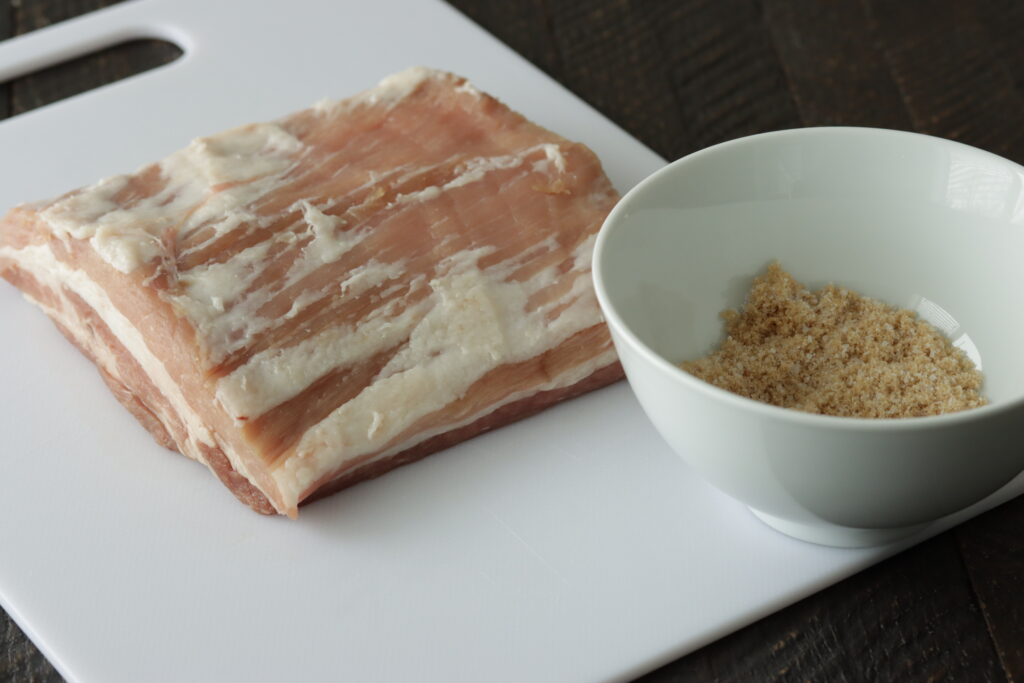
Once you’ve got that part figured out mix your ingredients together and yes……. rub your belly……… No this one. Try to get even coverage over all sides and and use it all up.
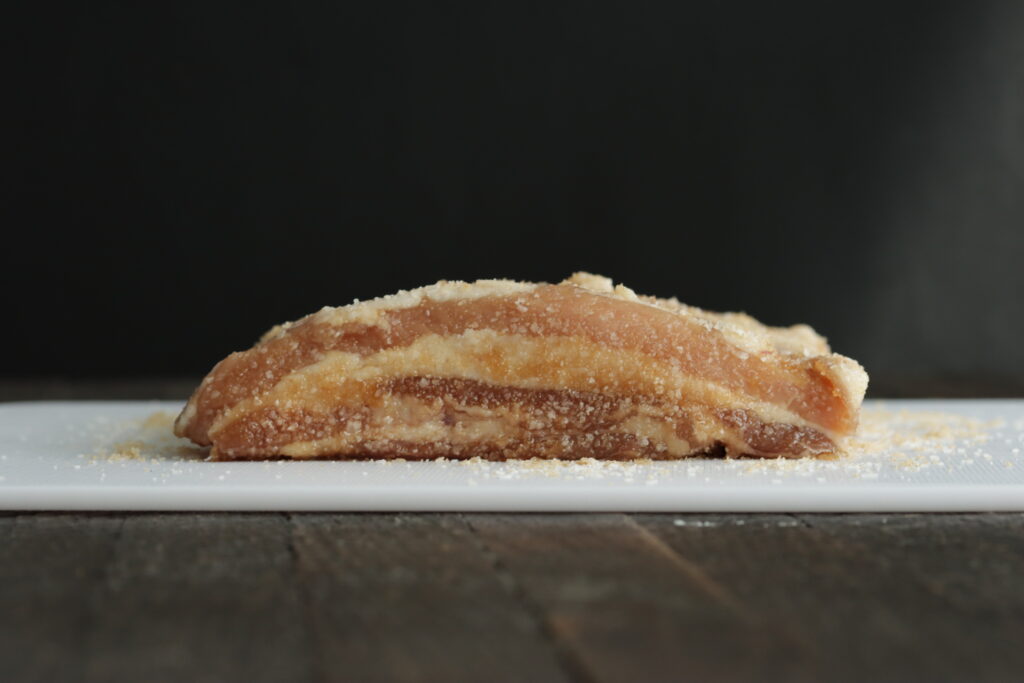
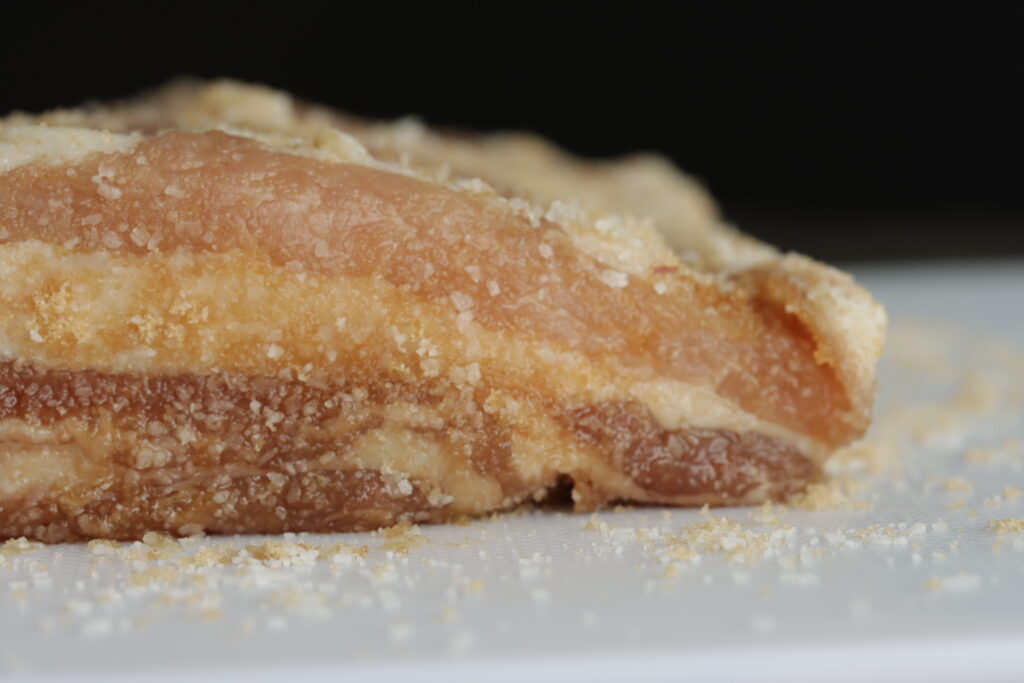
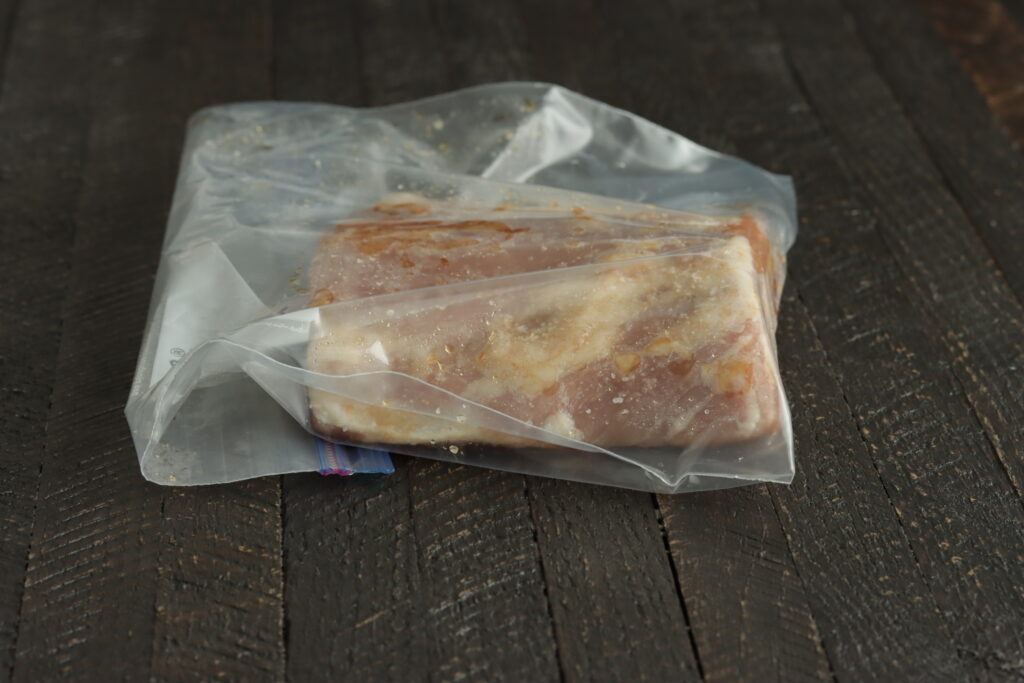
Once you have rubbed the cure all over it you can grab a ziplock bag and toss it in there. Try to get as much air out as possible and seal it up. Place it in your fridge and flip it once a day. It won’t be long before you start to see liquid in the bag. THIS IS OKAY. The salt is pulling the moisture out which is what we want. Be patient and leave it for minimum of a week. This is the HARDEST PART.
The cool thing with the EQ Method is that you can leave it longer and it won’t harm anything. Due to our precise measuring, the belly won’t get over saturated or too salty. Don’t leave it in the fridge for months, but 7-12 days depending on size will work fine. After a week or more you will notice it feels firmer which is a good sign.
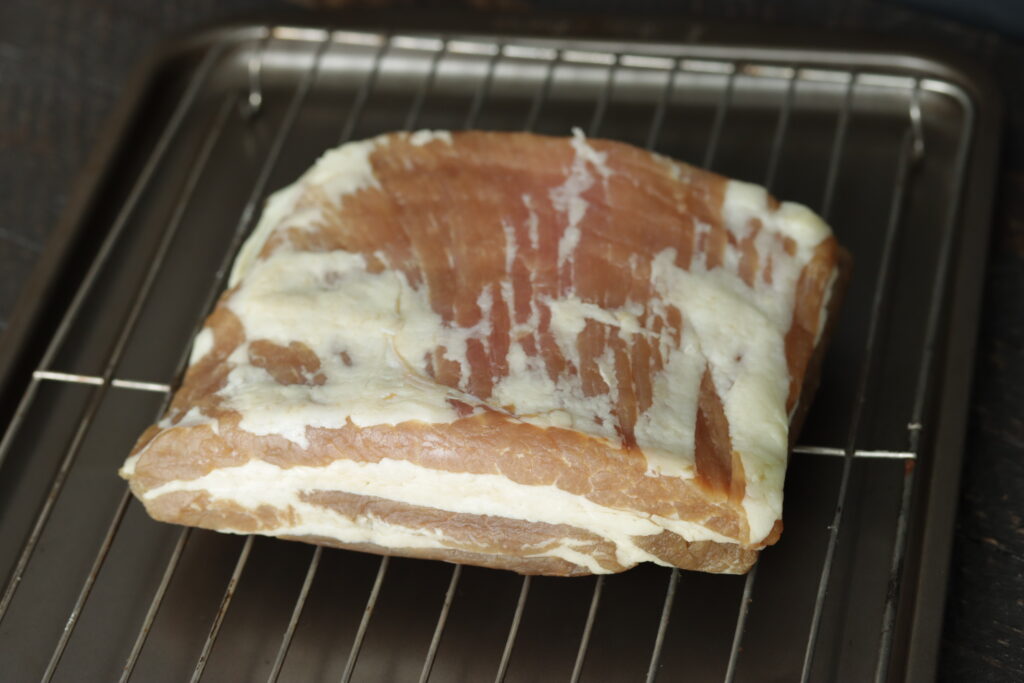
It’s now time to take it out and give it a quick rinse. After you’ve rinsed it you’ll want to pat it down and get it dried off. We’re almost ready to smoke it, but first you should slide it back into the fridge to stay cool and dry off. Putting it on a drying rack works great so that it gets dried underneath, this will ensure our smoke will stick to it. Leave it for 12-24 hours.
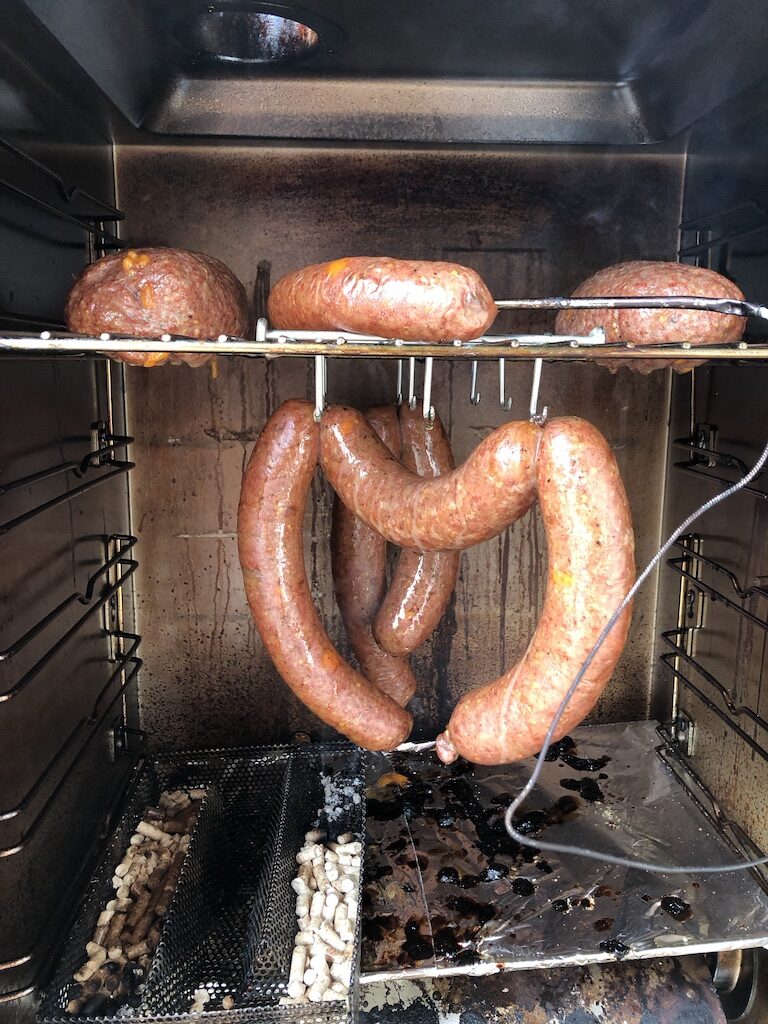
FINALLY it’s time to smoke it! There are many ways to do this but I will walk you through my preferred method of cold smoking. The basic idea is that you want to get that nice smoke in and on the meat without the high temperature that will melt the fat out of it. Ideally you’ll want to keep it around 100F but if it gets a little hotter that’s ok too. How long you do this depends on your preferences. I usually give it a few hours but some will go 12h or more. But why do we smoke it anyway? The simple answer is that smoke actually helps preserve the meat and has been used throughout history as a way of giving it a longer life. Not only that but lets face it, it tastes and smells GREAT!
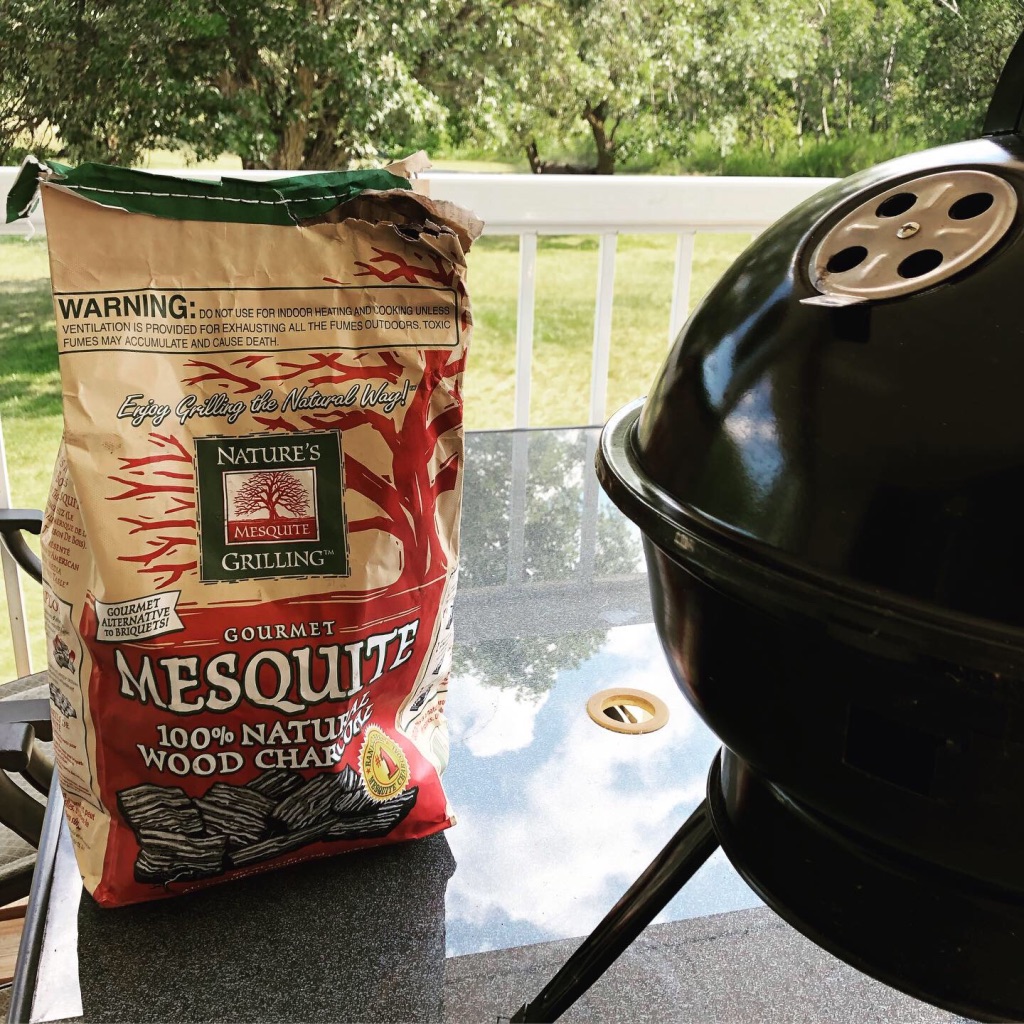
A quick word on smokers. You don’t need a dedicated smoker to make this work, although it certainly is easier. Before I had one I used a pellet smoker in my BBQ which worked really well. A quick online search will show you that there are a multitude of ways to go about this. Here is a link to the one that I mentioned above.
https://www.amazon.com/MAZE-N-Pellet-Smoker-Smoking-Works
The most common wood to use when smoking bacon is applewood. It certainly has a nice flavour profile and you won’t be disappointed. It’s not however the only one that works. Cherry, pecan, oak, and hickory are also great options. Feel free to experiment and find your favourite.
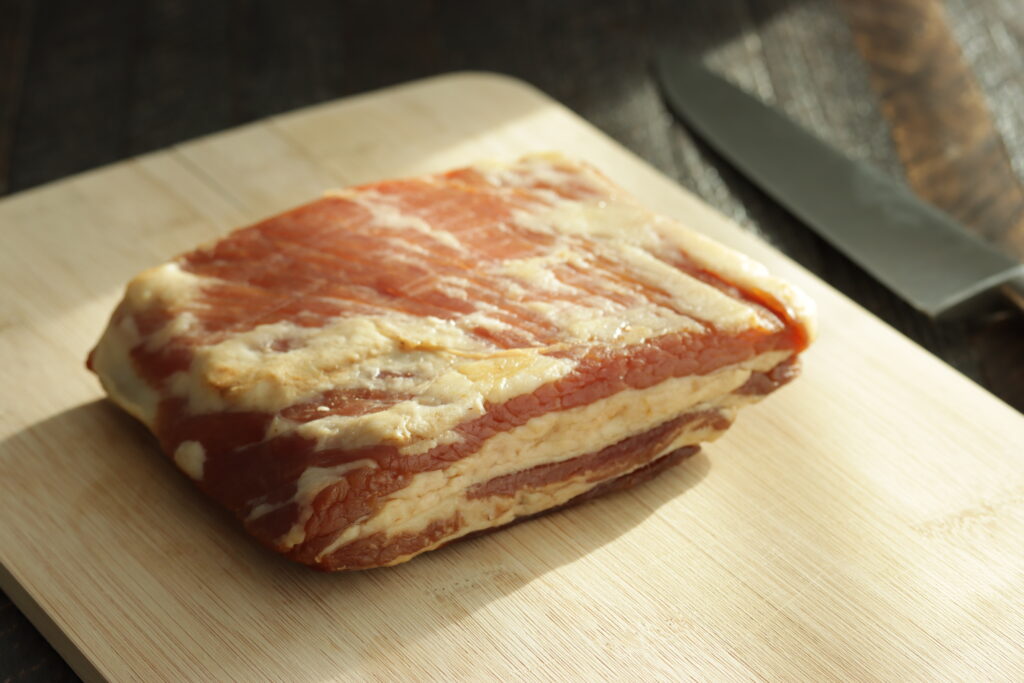
After you have finished smoking to your liking pull it out and let it rest. It slices so much nicer after it has cooled and firmed up. To be honest I’m guilty of rushing this step on occasion, but try to give it a chance to cool back in the fridge before you fry it up.
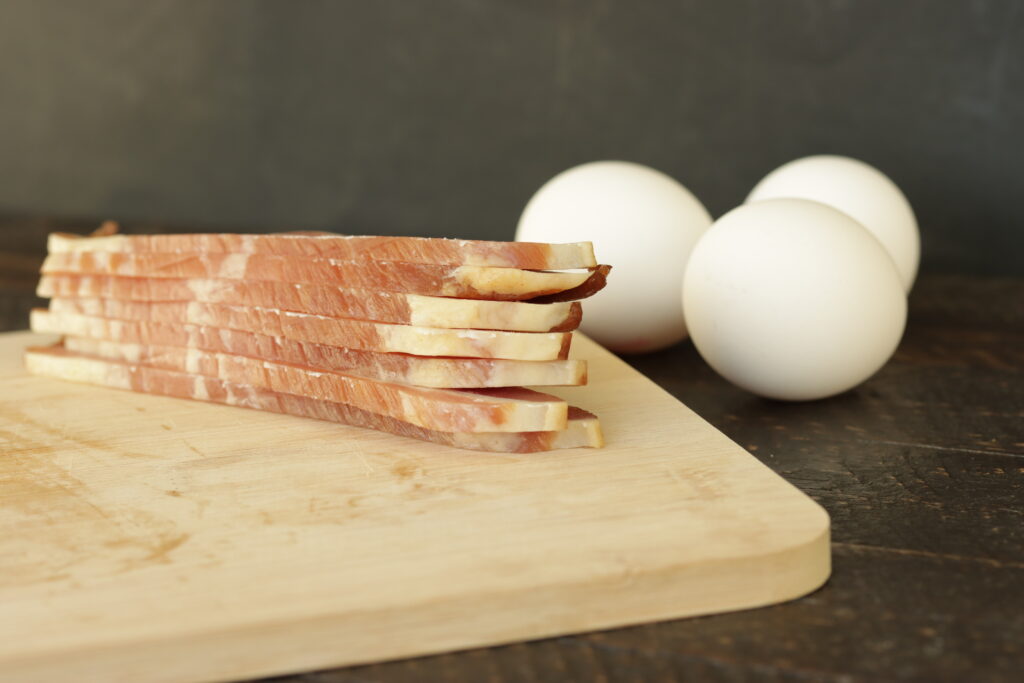
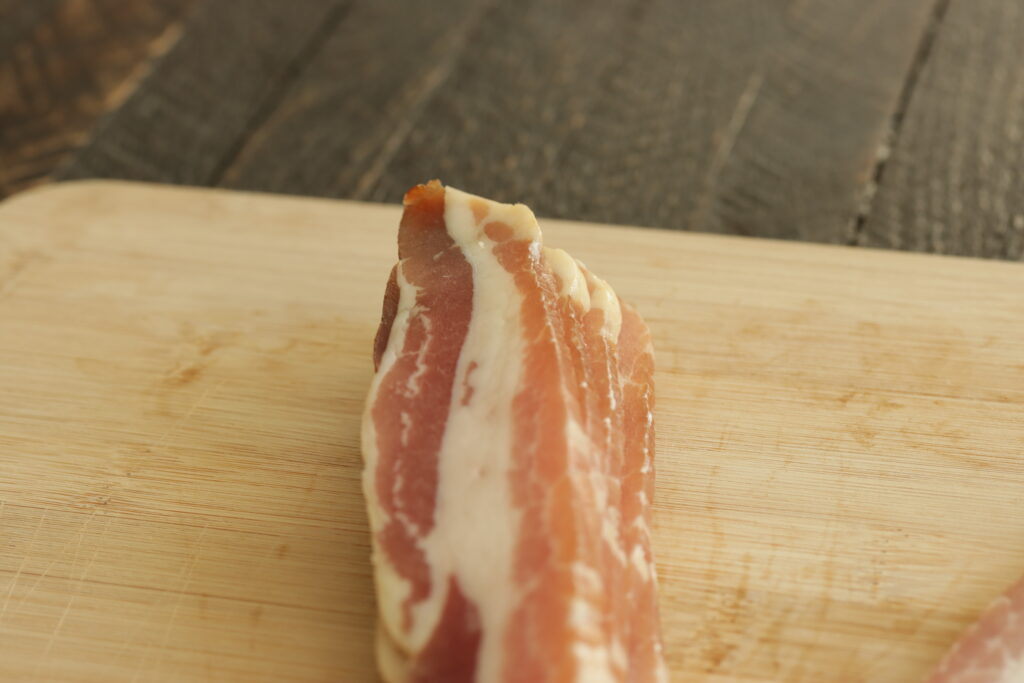
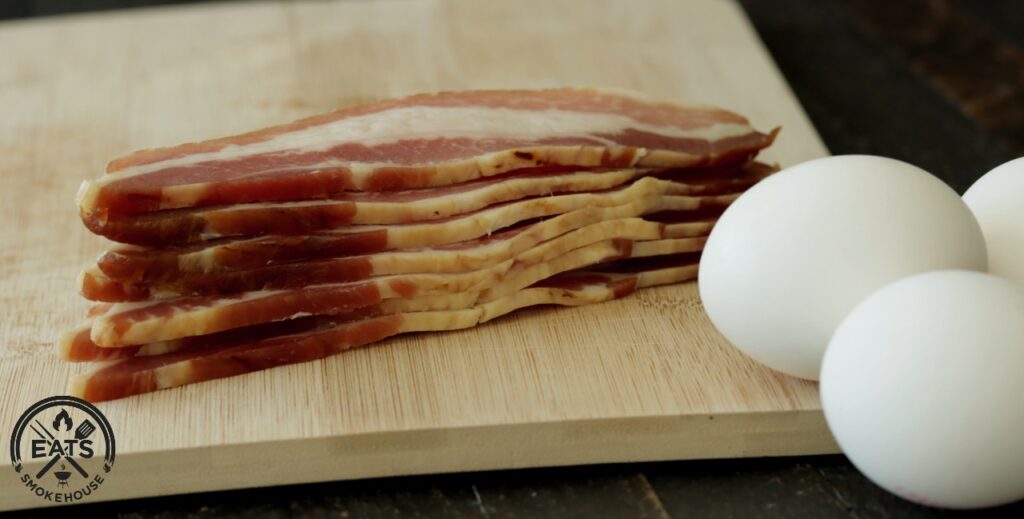
Now it’s time to slice it up and reward yourself! Slice it as thin or thick as you like and you’re set. Get that frying pan or oven warmed up and enjoy that SIZZLE! If you’re not planning on eating it all immediately you can freeze it for later.
I hope this helps you on your road to becoming a bacon master. Your first attempt will be a learning curve and it may take a few times to dial in the taste you’re after. I’d love to hear how yours turned out, and how you put your own twist on it!